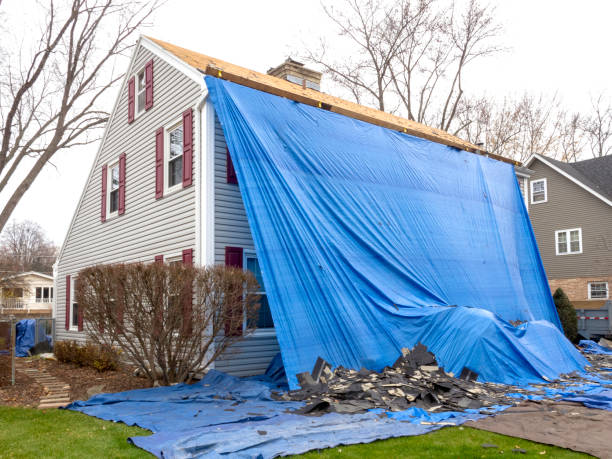
How to Easily Patch Your Tarp in just 5 Simple Steps
Discovering a rip in your tarp can be frustrating, but there’s no need to let it spoil your day. With our straightforward guide, “How to Easily Patch Your Tarp in Just 5 Simple Steps,” you’ll learn how to quickly repair your tarp and extend its life.
This simple, step-by-step approach ensures that anyone can achieve professional-level results with minimal effort. We’ve compiled everything you need to know to tackle tarp repair confidently. Let’s dive in and turn that damaged tarp around with tools you likely already have at hand.
What Causes Tarp Damage?
Ever noticed how sometimes tarps get holes or tear? It’s pretty common and can happen to anyone. Tarps are great for covering and protecting things but they’re not indestructible. They can get damaged from being stretched too much, rubbing against sharp objects, or just from being old and worn out. Weather can also be tough on tarps.
Heavy rain, strong winds, and too much sun can make small problems bigger, fast. It’s like when your favorite sneakers start to wear out; the more you use them, the more they show signs of all the fun (and work) you’ve had together. But just like patching up a scrape on your knee, fixing a tarp isn’t too hard once you know how to do it.
So, what do you need to get started on fixing your tarp? Not a lot, really. Grab some gloves to keep your hands clean and safe. You’ll also need rubbing alcohol and paper towels to clean the area around the tear. A pair of scissors will come in handy to cut the patch to the right size.
Oh, and don’t forget the cement glue and spare tarp material for the patch itself. These simple tools and materials are your first steps toward making your tarp good as new.
Read Also: How to Use Tarp Repair Tape
5 Steps to Easily Patch Your Tarp

Step 1: Clean and Prepare the Area
Before you start the actual patching, think of cleaning the area as prepping a canvas for painting. You want your repair to last, so grab some rubbing alcohol and paper towels. Gently clean around the tear to remove any dirt or grime. This step ensures that the glue sticks properly. Imagine you’re wiping away all the dust and dirt from a treasure map, uncovering the path to success. It’s not just about cleaning; it’s about preparing for a strong repair. Make sure the area is completely dry before moving on to the next step.
Step 2: Measure and Cut Your Patch
Once the area is clean, measure the tear. Then, cut a piece of spare tarp material that’s larger than the tear by a few inches on all sides. This extra space ensures the patch can fully cover the damaged area and stick around its edges securely.
Read Also: How to Repair a Hydraulic Hose in Just 6 Steps
Step 3: Apply the Cement Glue
Applying the cement glue is akin to laying the foundation for a miniature construction project. It’s the bond that will hold your repair together. Spread a generous layer of glue over both the patch and the area around the tear. The trick is to wait until the glue is just tacky to the touch – not wet, but sticky. This stage is critical; it’s when the glue is most ready to form a strong bond. Patience here is like waiting for the perfect wave before you surf – timing is everything.
Step 4: Securing the Patch
After the glue is tacky, place the patch over the tear and press down firmly. You want to make sure there are no air bubbles or wrinkles. Press along the edges and over the entire patch to ensure it’s fully attached. This step is crucial for making sure the patch stays in place.
Step 5: Finishing Touches
The final step in your tarp repair journey is to let the glue dry completely. It’s like waiting for the icing on a cake to set before you decorate it. If it’s cold out, a hairdryer can speed up the process, but don’t rush. Good things come to those who wait. Once dry, inspect your work. Check the edges of the patch to make sure they’re secure and that there are no gaps. This final check is like reviewing your answers before turning in an exam – it’s your chance to make sure everything is perfect.
Read Also: Essential Tips for Effective Hydraulic System Maintenance
Why This Method Works
You might wonder why this five-step method is the go-to for tarp repair. It’s because it sticks to the basics, using materials you likely already have and methods that don’t require any special skills. This approach gets straight to the point, fixing tarps quickly and effectively. By cleaning the area first, we ensure the patch can bond well without dirt getting in the way.
Cutting the patch larger than the tear gives it a strong grip around the damaged spot. Using cement glue means the patch stays put, even in tough weather. Pressing the patch firmly removes any air gaps, making the repair smooth. And letting it dry completely? That’s just to make sure the patch won’t budge. Each step is designed for durability, ensuring your tarp is ready for action again. It’s a straightforward process that works, plain and simple.
Read Also: How to Find Heavy Duty Tarps in Canada

